Installing QGIS and Plugins
Test Data
Download the test data for this lab: stanford_art_data.zip
This zip file contains the following layers:
stanford_public_art.geojson— Point locations of public art installations on Stanford campusstanford_campus_irg.tif— Infrared raster image of the Stanford campusstanford_campus.geojson— Stanford campus boundary polygon
Introduction
QGIS (Quantum Geographic Information System) is a free, open-source desktop GIS application that will serve as our primary tool for spatial data analysis and cartography. This lab will guide you through the installation process and setup of essential plugins that extend QGIS's functionality for terrain analysis, geoprocessing, and basemap integration.
Learning Objectives
By the end of this lab, you will be able to:
- Install QGIS on macOS, Windows, or Linux
- Create a new user profile for course work
- Install and configure essential QGIS plugins
- Install Whitebox Tools for advanced terrain analysis
- Access basemap services through QuickMapServices
Installing QGIS
macOS Installation
NOTE: Avoid the use of the new "VERY EARLY RELEASE" version 4.0.0. Most of the plugins that we will need to use have not been updated for this version. At some point, soon, I expect that to change, but until then, **please use the Long-term Release (LTR) Version 3.44
- Download the latest Regular release from: qgis.org/en/site/forusers/download.html**
- Download the DMG file for macOS
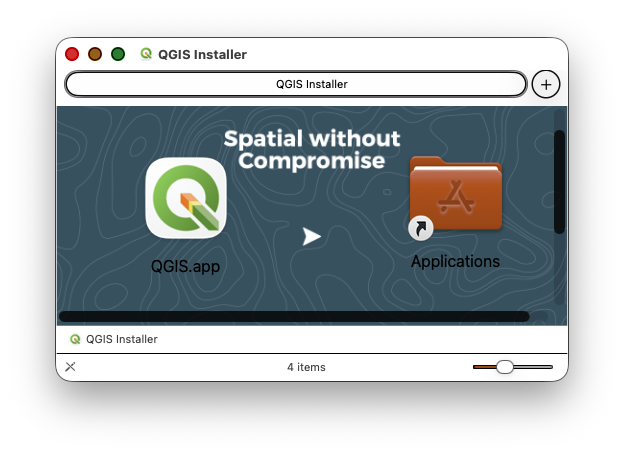
- Double-click the downloaded DMG file to open it
- It will take a few minutes to decompress and validate the DMG file
- Once the installation window opens, drag and drop the QGIS app icon into the Applications folder icon
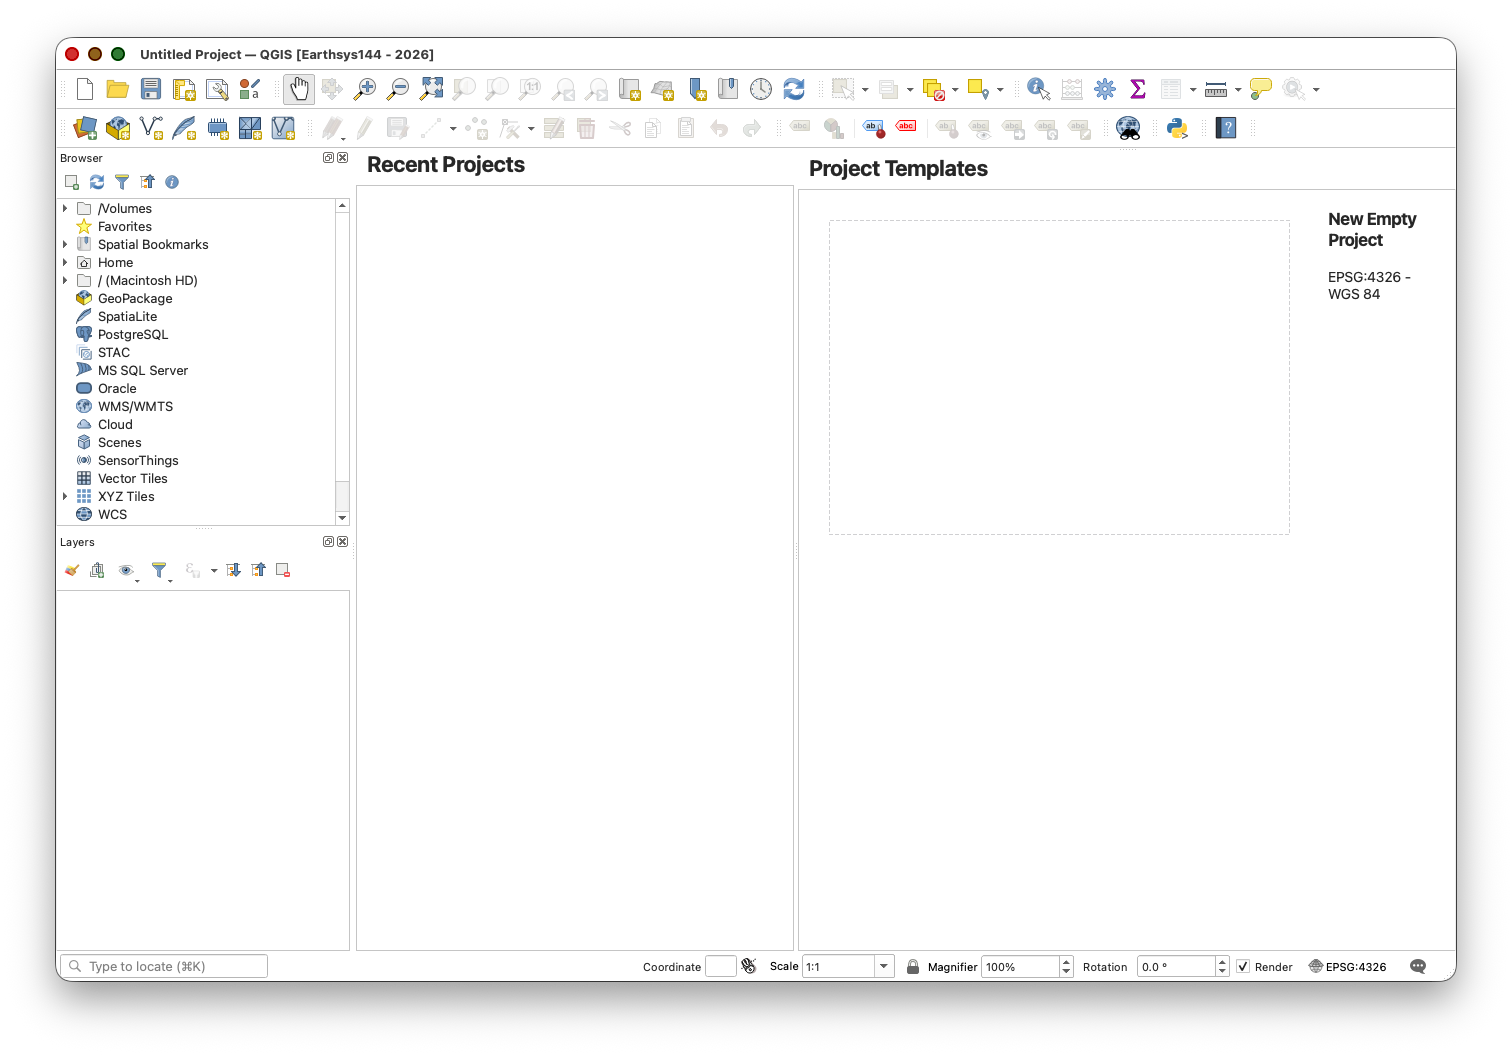
- Launch QGIS from your Applications folder
Note: As of 2024, QGIS is now properly registered with Apple, so you should not encounter security warnings during installation or first launch.
Windows Installation
- Visit qgis.org/en/site/forusers/download.html
- Download the QGIS Standalone Installer (Regular release)
- Run the installer with administrator privileges
- Accept the default installation options
- Launch QGIS from the Start menu
For a detailed walkthrough, see: How to Install QGIS on Windows
Linux Installation
- Use your distribution's package manager
- Add the official QGIS repository for the latest versions
- Install using
apt,yum, or equivalent package manager
For distribution-specific instructions, visit: QGIS Installers
Setting Up Your QGIS Profile
Creating a new user profile provides a clean workspace for the course and makes troubleshooting easier if issues arise.
Create a New User Profile
- Launch QGIS
Go to Settings > User Profiles > New Profile
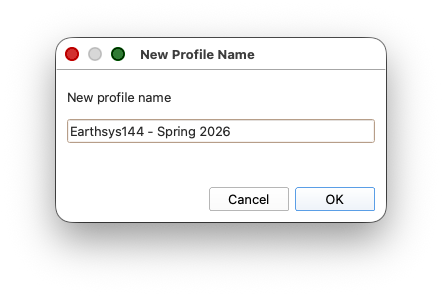
- Name the profile something like
EarthSys144orEarthSys144-Labsto identify it - Click OK
QGIS will restart with your new profile. This creates a fresh configuration with default settings. Your old profile (if you had one) remains available and you can switch between profiles from Settings > User Profiles.
Installing Essential Plugins
QuickMapServices Plugin
QuickMapServices provides convenient access to basemap layers from various providers (Google, Esri, OpenStreetMap, and more).
Install the Plugin:
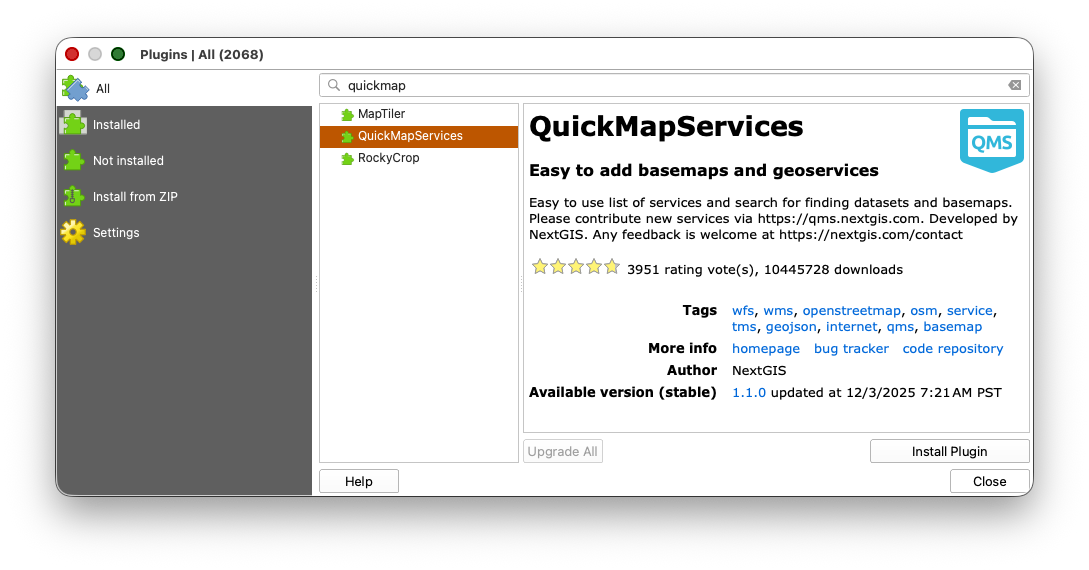
- Go to Plugins > Manage and Install Plugins
- In the search box, type QuickMapServices
- Select the plugin from the list and click Install Plugin
- Close the Plugin Manager
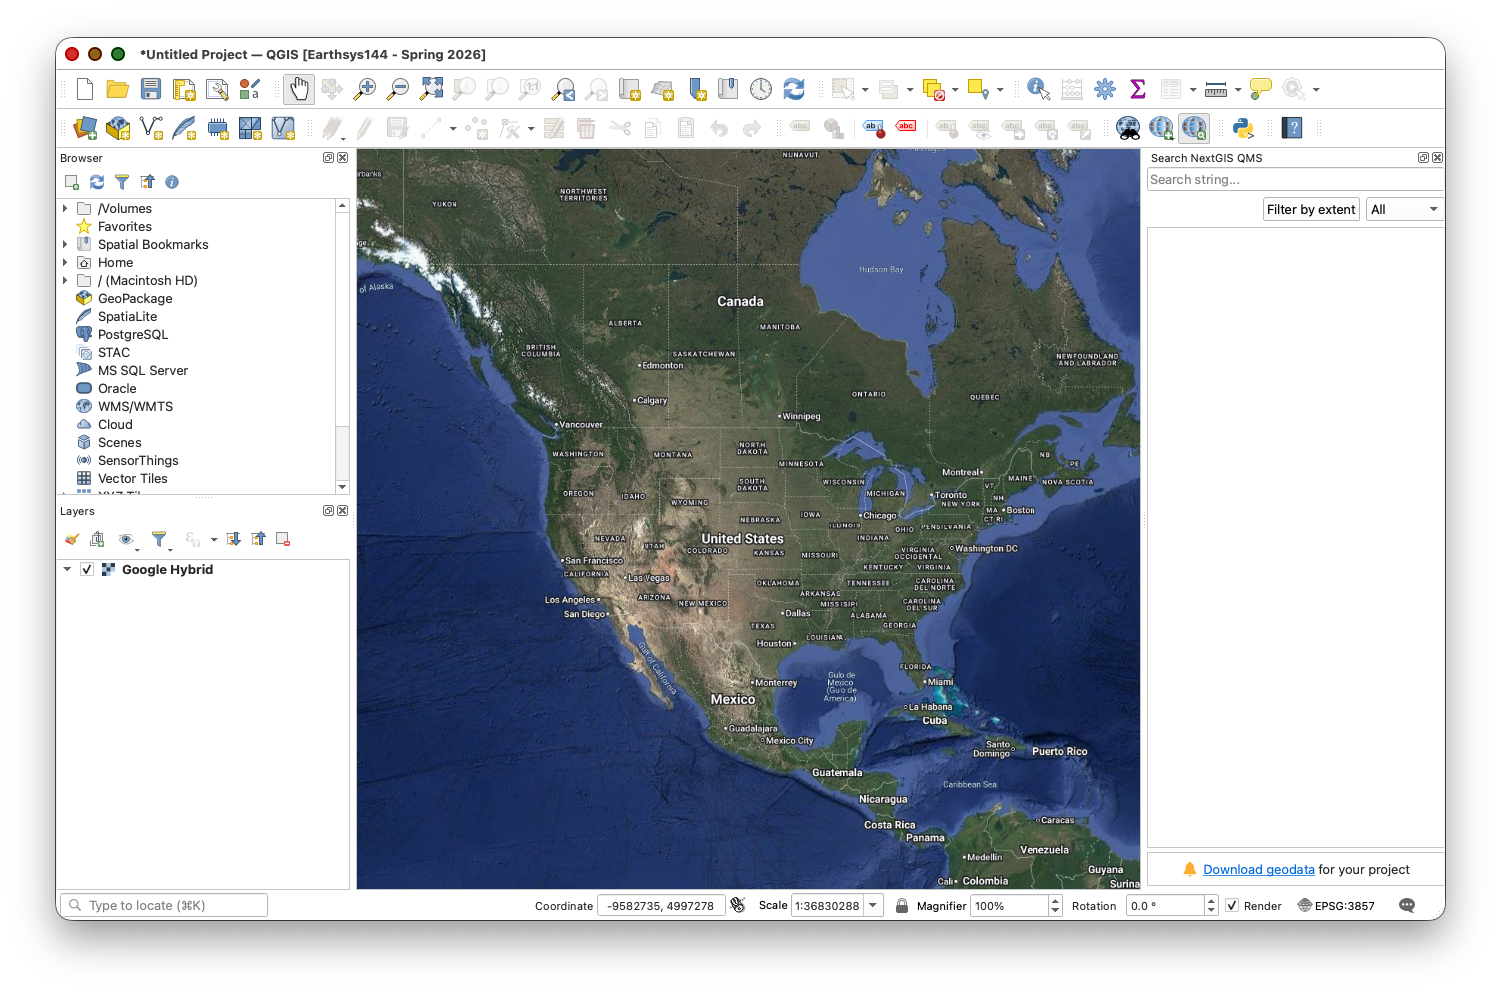
Test the Installation:
- Go to Web > QuickMapServices
- You should see many service providers listed (Google, Esri, NASA, etc.)
- Select Google > Google Hybrid to load a basemap
SAGA
SAGA is used as a standalone application for this course. We will not install or connect a SAGA plugin inside QGIS in this guide, as QGIS integrations with SAGA have been discontiniued.
When a later lab asks you to use SAGA, launch the SAGA application directly and follow that lab's standalone instructions.
Whitebox Tools
For this course, use the standalone Whitebox Tools setup described in Installing Whitebox Tools.
That guide shows you how to:
- choose the correct Mac or Windows binary
- check your Mac chip type with About This Mac
- install the WhiteboxTools for QGIS plugin
- point QGIS at the
whitebox_toolsexecutable - verify that the toolset is ready for later raster labs
Troubleshooting Common Issues
QGIS Won't Launch
- Windows: Try running as administrator
- macOS: Check that the app is in your Applications folder
- All platforms: Check system requirements at qgis.org
- Clear QGIS settings by renaming the QGIS profile folder and creating a new profile
Plugins Not Working
- Verify QGIS version compatibility in the plugin description
- Check your internet connection (required for plugin installation)
- Try Plugins > Manage and Install Plugins > Reinstall Plugin
- Clear the plugin cache and restart QGIS
Whitebox Tools Not Showing Up
- Make sure you followed Installing Whitebox Tools and pointed QGIS at the correct executable
- If you chose the wrong Mac binary, download the one that matches your chip type
- Restart QGIS and check Processing > Toolbox again
- If the plugin still does not appear, reinstall WhiteboxTools for QGIS from Plugins > Manage and Install Plugins
QuickMapServices Shows No Basemaps
- Make sure you clicked Get Contributed Pack in the settings
- Check your internet connection
- Try Web > QuickMapServices > Settings > More Services > Reload to refresh the list
Submission
To verify your installation:
- Create a new QGIS project
- Load the Google Hybrid basemap from Web > QuickMapServices > Google > Google Hybrid
- Open the Processing Toolbox and expand it to show the WhiteboxTools provider.
- Create a screenshot showing:
- QGIS interface with the Google Hybrid basemap loaded
- Processing Toolbox panel visible with WhiteboxTools expanded
- Upload the screenshot to Canvas
Next Steps
With QGIS and essential plugins installed, you're ready to:
- Create your first maps with professional basemaps
- Perform terrain analysis using Whitebox Tools
- Begin exploring spatial data visualization and analysis
These tools will form the foundation of all the desktop GIS work we'll do throughout the course.